 Vintro Pro
NL · FR · EN
Vintro Pro
NL · FR · EN
Vintro Pro
NL · FR · EN
Vintro Pro
NL · FR · EN
This is the screen you use at the till. The key thing to know: there are three sale prices, and which one you fill in decides where the piece lands in your bookkeeping.
The QR code or barcode on your label exists precisely for this: no number to retype, so no typing mistakes.
Click the 💰 tab and point the camera at the code. As soon as it is recognised, the item appears below.
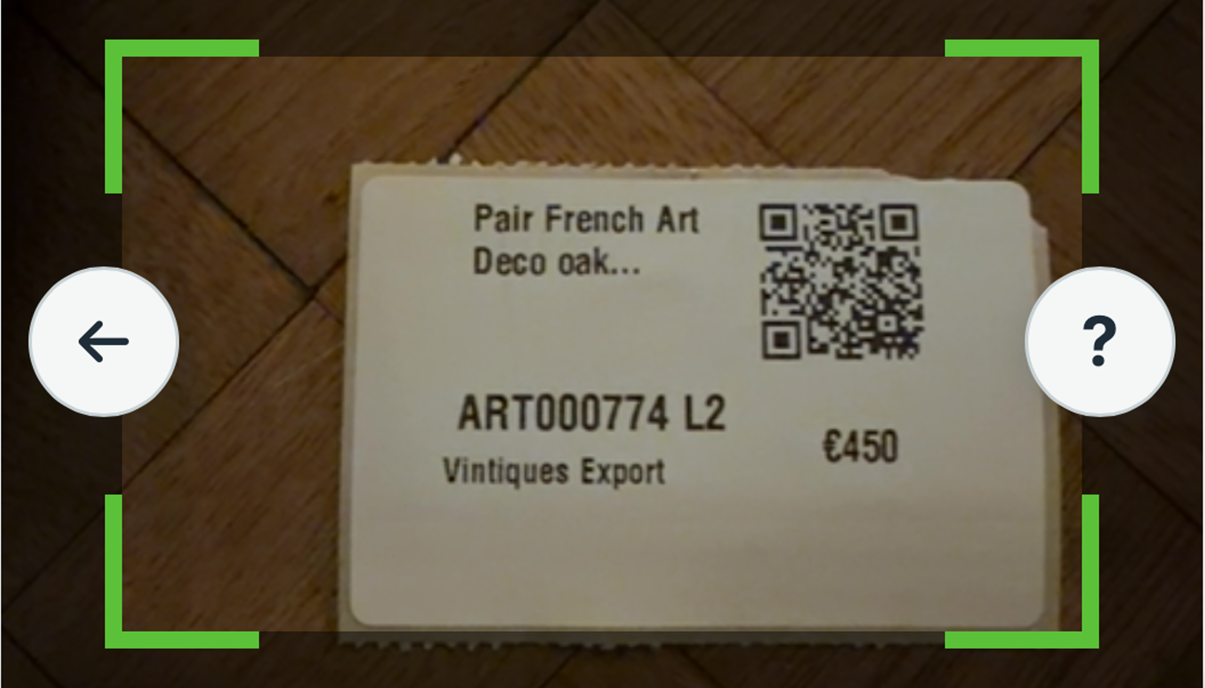
A barcode gun or plain keyboard gets you just as far. Handy behind a counter, where a fixed scanner beats a phone.
Use the Or type/scan (gun) the item number manually field and click Search.

Every scan plays a sound and the app reads the piece out loud: item number, description, and whether it is already sold. So you know without looking at the screen — with a customer in front of you or your hands full.
Nothing. Note the difference in sound between found and not found, and the ✓ Sold or Not sold line.

This is the most important step of all. Margin sale price is the price that later counts in your margin VAT calculation. Export sale price belongs to sales outside the EU, Standard sale price to ordinary VAT. Fill in the wrong one and your return is wrong.
Fill in one of the three fields. It saves immediately — and the piece joins your invoice basket on its own, without clicking Edit.

Only then does it leave your public catalogue and count as sold on your Dashboard. Forget this and it stays online after it has gone.
Click Mark as sold. If something else still needs changing, use ✏️ Edit first.
The app then asks How was it paid? — pick ⏳ Not paid yet, 🏦 Bank transfer, 💳 Card or 💶 Cash. If you do not know yet, click Skip; you can fill it in later from the edit form or straight in the table. Choose ⏳ Not paid yet and the piece stays red until the money is in — so you can see at a glance what is still outstanding.

On a busy day you scan dozens in a row. The screen stays ready.
Click 🔄 Scan again.

When you are preparing a shipment abroad, you will want those pieces back in one go — for your customs papers, or to check what actually went. That is what the export number is for: a name you choose yourself, say Export01/08/2026. You type it once, not at every piece.
Scan your pieces and fill in the export price for each. At the first one the app asks for an export number; every later piece whose export price you fill in during the same session gets that same number automatically. You then filter on it through the cog above your stock, under Export number.
⚠️ The number is remembered only while you keep this screen open. Reload the page, or come back to it later, and the app asks again. Type it exactly the same — otherwise one shipment ends up under two numbers and your filter finds half of it.
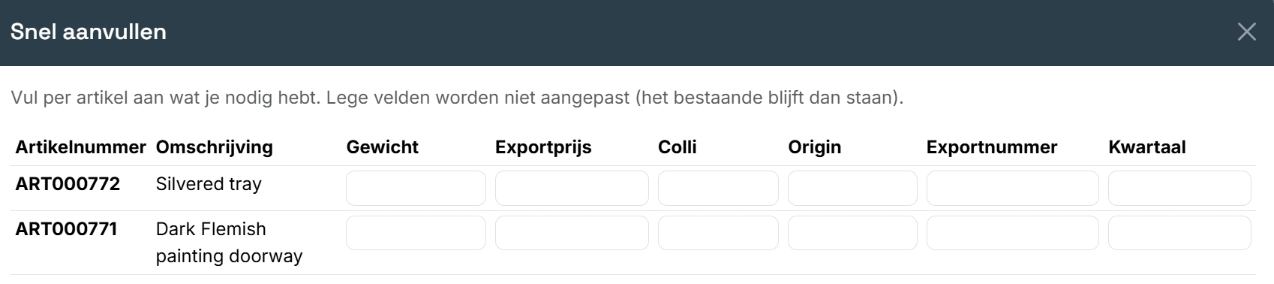
Mark as sold records the sale but produces no document. If your customer wants an invoice, or your accountant does, you gather the pieces in the invoice basket first. Several pieces for the same customer then land on one invoice.
Click 🧾 Add to invoice on each piece. The basket adds up at the top. Done? Click Create invoice.
If you work with Odoo, Vintro Pro puts the invoice there as a draft straight away — you or your accountant confirm it. With anything else you download a CSV file to import. That works with just about any package that takes CSV: Exact Online, Yuki, Billtobox, Teamleader.
Fill in the Customer name — leave it empty and the invoice reads Walk-in customer. Pick your Accounting software and leave Immediately mark these items as sold ticked.
These items will be added to the invoice:
Immediately mark these items as sold
Then you type or scan the number. Use the Or type/scan (gun) the item number manually field and click Search. A barcode gun or plain keyboard gets you just as far — handy behind a counter, where a fixed scanner beats a phone.
This is the most important step of all. Margin sale price is the price that later counts in your margin VAT calculation. Export sale price belongs to sales outside the EU, and Standard sale price to ordinary VAT. Fill in the wrong one and your return is wrong.
Only then does it leave your public catalogue and count as sold on your Dashboard. Forget this and it stays online after it has gone.
Only while you keep that screen open. Reload the page, or come back to it later, and the app asks again. Type it exactly the same — otherwise one shipment ends up under two numbers and your filter finds half of it.
No. Mark as sold records the sale but produces no document. If your customer wants an invoice, or your accountant does, you gather the pieces in the invoice basket first. Several pieces for the same customer then land on one invoice.
These pages are free and will stay that way. If you would rather have someone look at your own stock with you, that is available as paid guidance.